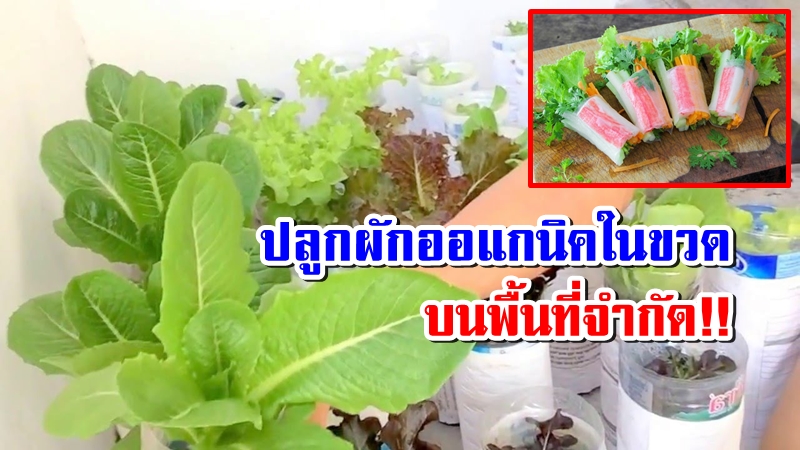
ใครที่กำลังมองหาอาชีพที่สามารถช่วยเพิ่มรายได้นอกจากงานประจำที่ทำอยู่ การปลูกผักออแกนิคก็ถือเป็นอีกตัวเลือกที่น่าสนใจมากๆ เพราะสามารถปลูกได้แม้จะไม่มีพื้นที่เยอะๆ ก็ตาม อย่างบริเวณหลังบ้าน ริมทางเดิน หรือแม้แต่ระเบียงก็ไม่ใช่ปัญหา แถมวัสดุที่ใช้ก็หาง่ายตามท้องตลาด ส่วนเรื่องต้นทุนก็ไม่ต้องพูดถึง.. เพราะถูกมาก ซึ่งผลลัพธ์ที่ได้กลับมาก็เกินคาดซะด้วย
วันนี้ Gang Beauty จึงได้นำวิธีการปลูกผักออแกนิคในขวด มาเผยให้ทุกคนได้ทราบตั้งแต่ขั้นตอนการทำ ไปยันการเก็บเกี่ยว ส่วนไอเดียต่อจากนั้นใครจะนำไปเพิ่มมูลค่าอีกก็นับว่าดีสุดๆ เลยล่ะ

วัสดุอุปกรณ์
ขวดน้ำพลาสติก ขนาด 1 ลิตร
คัตเตอร์
ฟองน้ำสำหรับปลูกผัก (จะดัดแปลงเองก็ได้ เพียงผ่าตรงกลางเป็นสามเหลี่ยม)
เมล็ดผัก
ปุ๋ยน้ำ สำหรับผักไฮโดรโปนิกส์
ขั้นตอนการปลูก
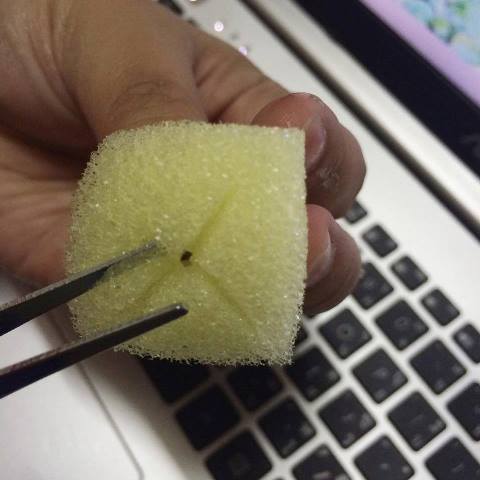
1. นำเมล็ดผักมาใส่ลงในฟองน้ำ ประมาณ 3-5 เม็ดต่อ 1 ชิ้น สำหรับผักสายพันธุ์ไทย แต่หากเป็นพวกผักสลัดแนะนำให้ใส่เพียง 1 เมล็ดก็พอ
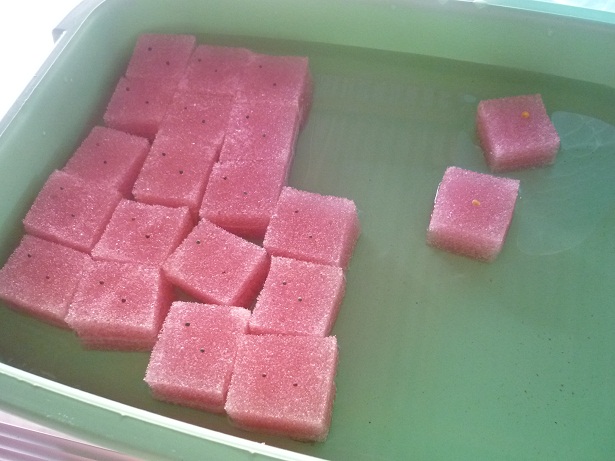
2. นำฟองน้ำที่ใส่เมล็ดผักแล้ว ไปแช่ไว้ในน้ำ 2-3 ชั่วโมง เพื่อให้การงอกเมล็ดมีประสิทธิภาพมากยิ่งขึ้น
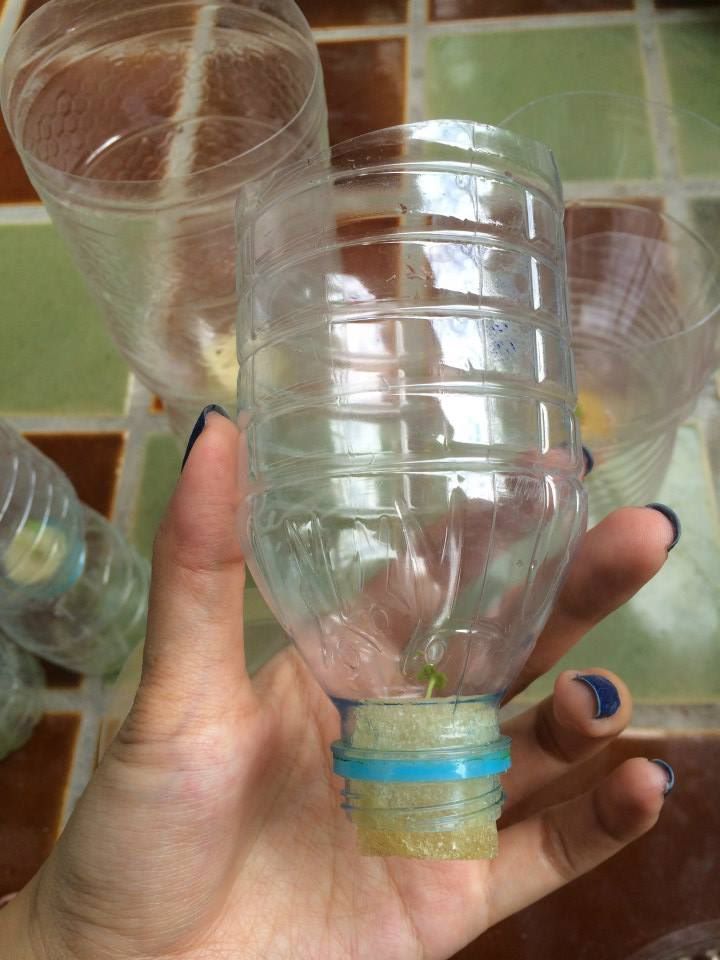
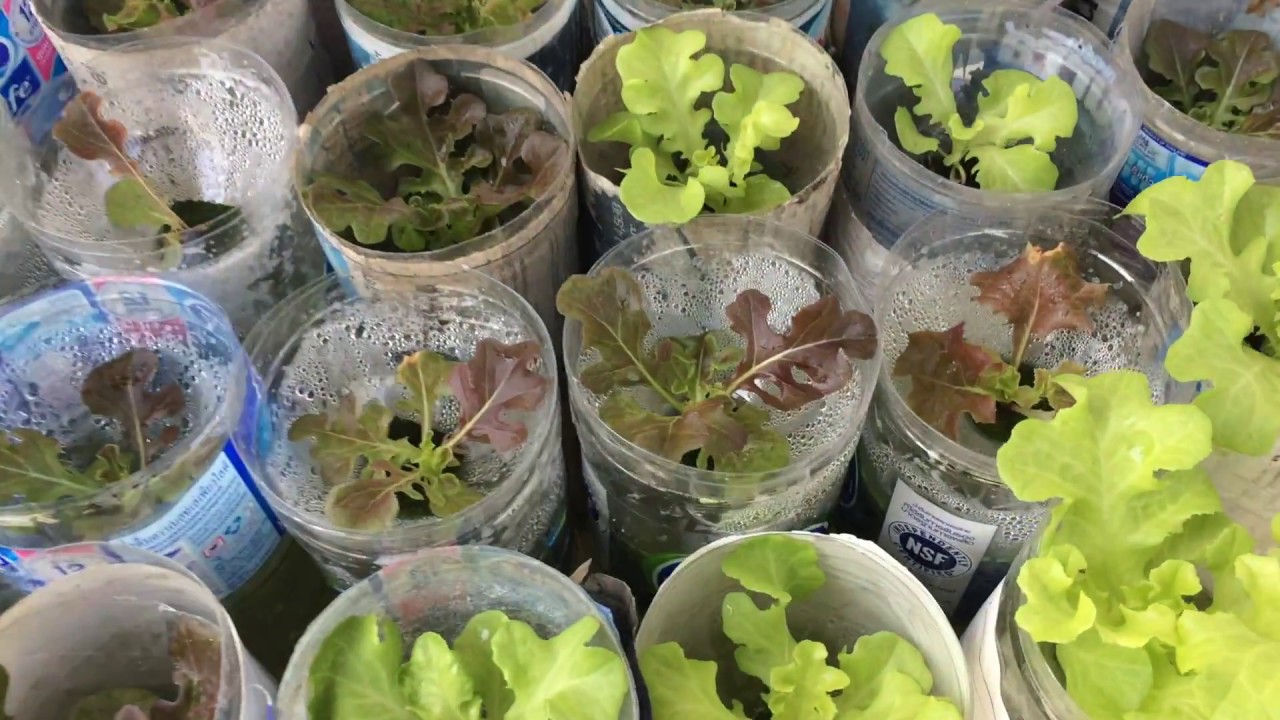
3. นำฟองน้ำที่แช่เมล็ดแล้ว มาใส่ลงในขวดตามภาพ คือ การตัดขวด 3/4 ส่วน ละคว่ำบริเวณปากขวดลงไป เติมน้ำลงไปจนเต็มส่วนล่าง ควรใส่ฟองน้ำให้ยื่นออกมาจากปากขวดนิดหน่อย เพื่อให้เวลารากงอกจะได้แตะกับน้ำพอดี
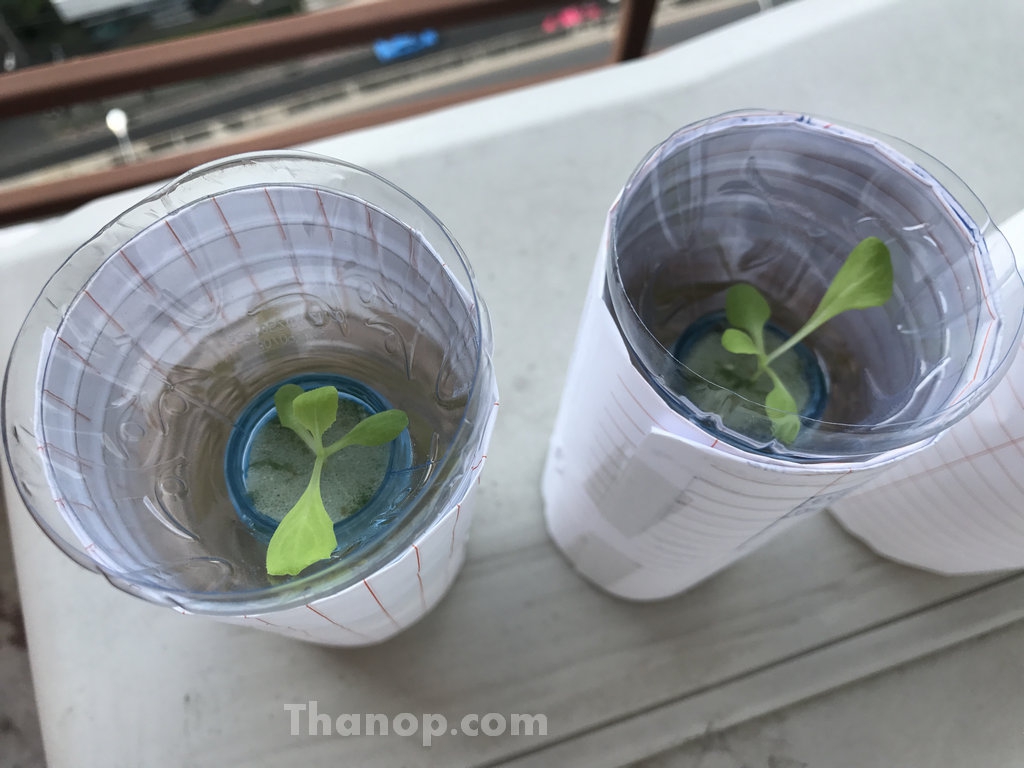
4. รอเมล็ดงอกต้นอ่อนขึ้นมาประมาณ 3-5 วัน จึงใส่ปุ๋ยที่ไว้สำหรับผักไฮโดรโปนิกส์ ตามอัตราส่วนที่ระบุข้างขวด
5. หมั่นตรวจสอบระดับน้ำเป็นประจำ อย่าให้แห้งและต่ำกว่าราก แนะนำให้ใส่ปุ๋ยประมาณอาทิตย์ละ 1-2 ครั้ง
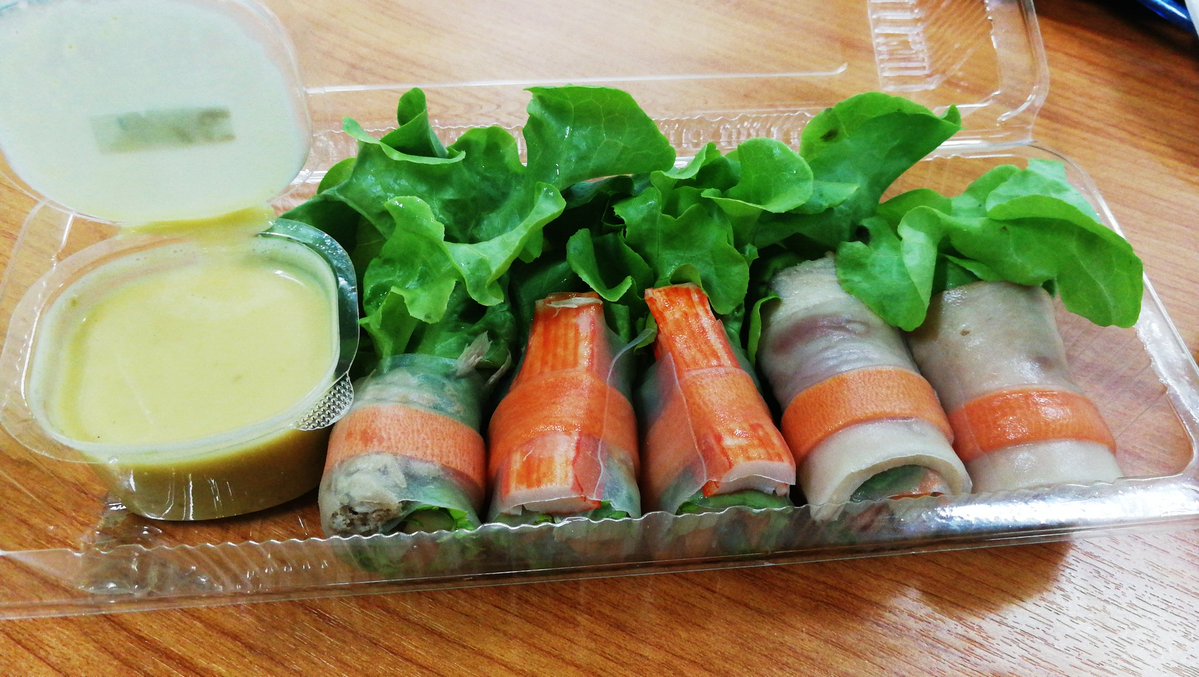
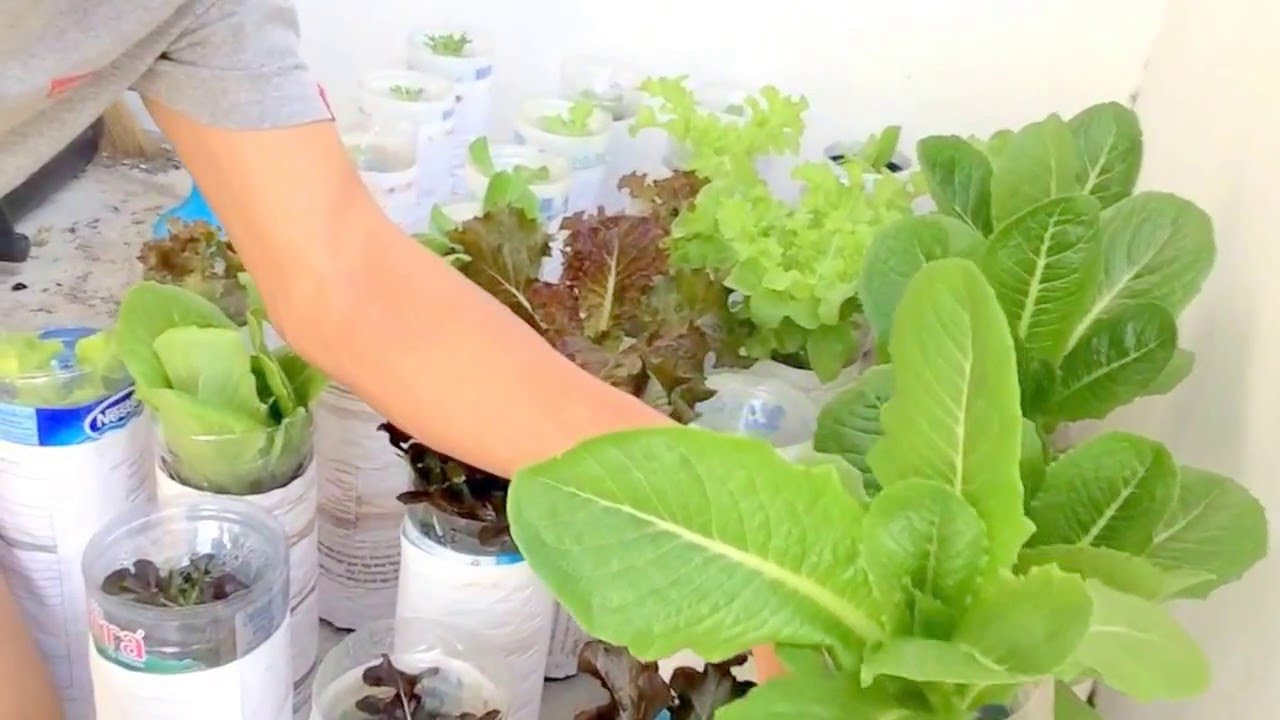
และเมื่อผักโตได้ที่เราก็สามารถเก็บมารับประทานได้เลย หรือใครจะหยึดเป็นรายได้เสริมก็เข้าท่าไม่น้อย และต่อไปนี้เป็นไอเดียการเพิ่มมูลค่าให้ผักของคุณ จะดัดแปลงเป็นเมนูต่างๆ เพื่อนำไปขายก็ได้กำไรอีกเท่าตัวแน่นอนจ้า